DIY Foam and Concrete background and Aquascape for 4' Aquarium
Here's my situation. I'm a senior in college (one semester left!) and have a 55g African Cichlid tank and a 10g planted community. The 55g is quite tricky to move back to my apartment at school (6 hours drive) but it's doable. What makes it extra tricky is I aquascape my tank with sandstone tiles. They are heavy and I don't want to keep them in my tank during the trip because I don't want them to break the glass. I normally have to put all of the sandstone pieces into a plastic container which takes up valuable space in my Ford Explorer.
To solve this dilema I'd like to build a DIY foam and concrete background and aquascape. The plan is to get at least one 8'x4' sheet of insulating foam from my local hardware store and cut that down to size to make a rock background. Cut out "rock pieces" from the remaining part of the sheet to bring the background into the 3rd Dimension. I'd cover the background in concrete and then silicone it to the back wall (and perhaps use some burried rocks to keep it against the glass and not floating.
NOTE: the background (and aquascape) will need to be in at least three pieces because my tank has a center brace.
The tricky part will really be the aquascape. I want to build up a realistic looking scape, ideally reminiscent of Lake Malawi but upon more thought that may be tricky to do. The aquascape must accomplish a few goals
1) Cover up/hide the aquarium equipment including the filter intake/outflow, heaters, and powerheads
2) Provide ample hiding places and cover for fish of all sizes and have open spaces for swimming
3) Not restrict the light to the tank (the light is mounted 5+" above the tank so this may not be much of an issue)
4) Look awesome (because it's going to be a permanent aquascape)
Here's what I did...
I figured out where each piece of equipment will be. I then decided how I wanted the water to flow through the tank and made sure the equipment (heaters, powerheads, filter parts) were in locations that would allow for their proper performance.
I cut the 2'x8' foam to fit the tank. We will use two sheets the dimensions of the tank, one as a "spine" and a second for decorating rocks.
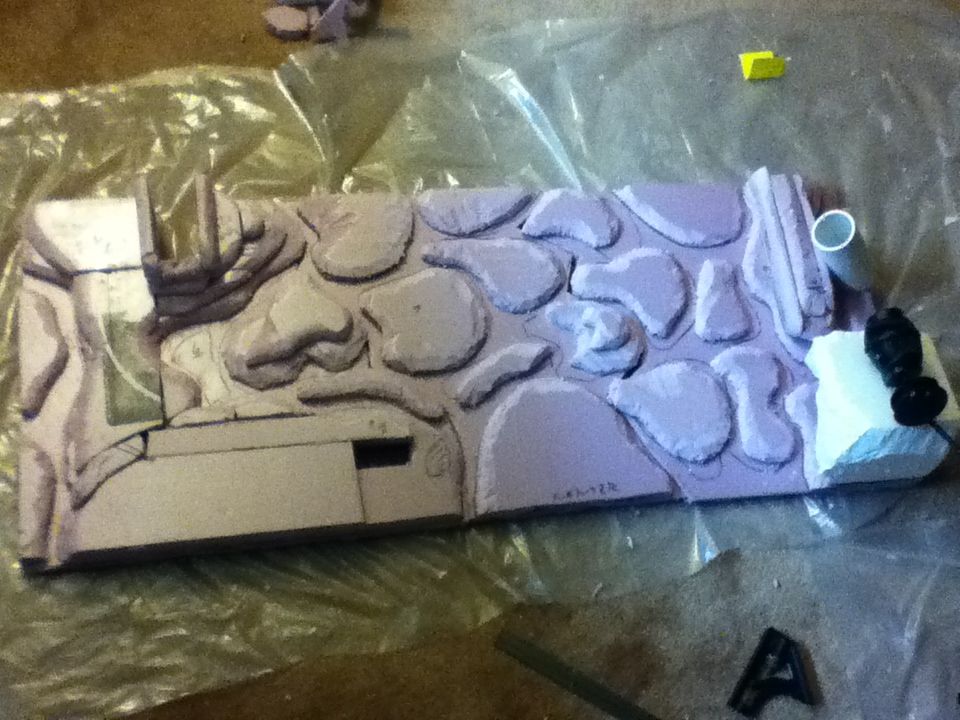
I marked out where the equipment will be and how I wanted the decorating background rocks to be appear.
I had to cut my background into three sections in order to fit it into the tank. My tank is a standard 55 gallon setup which has the center brace.
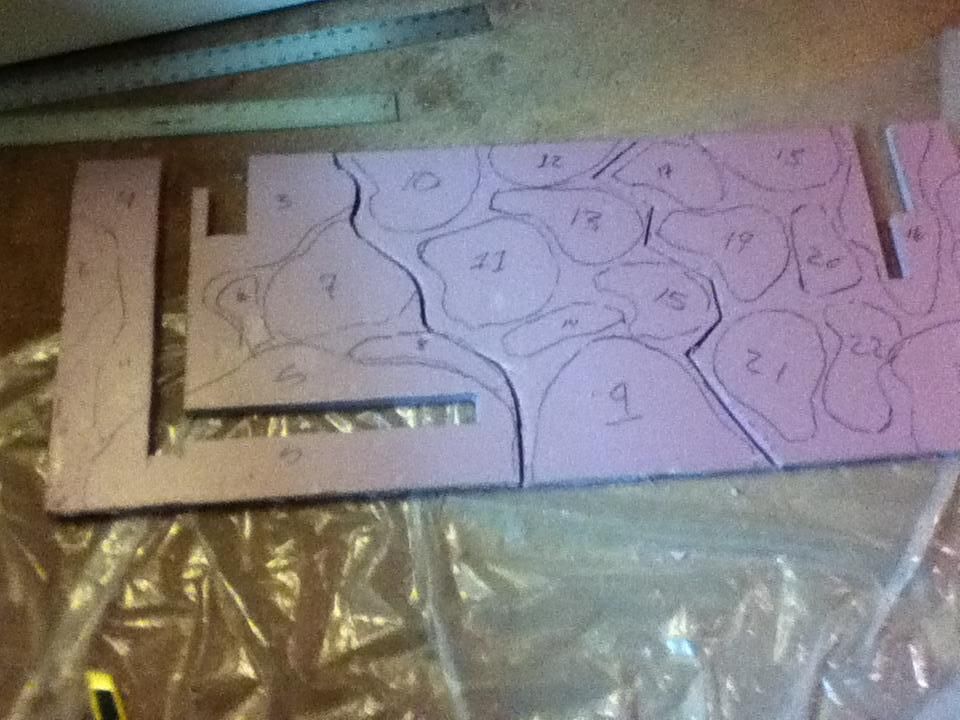
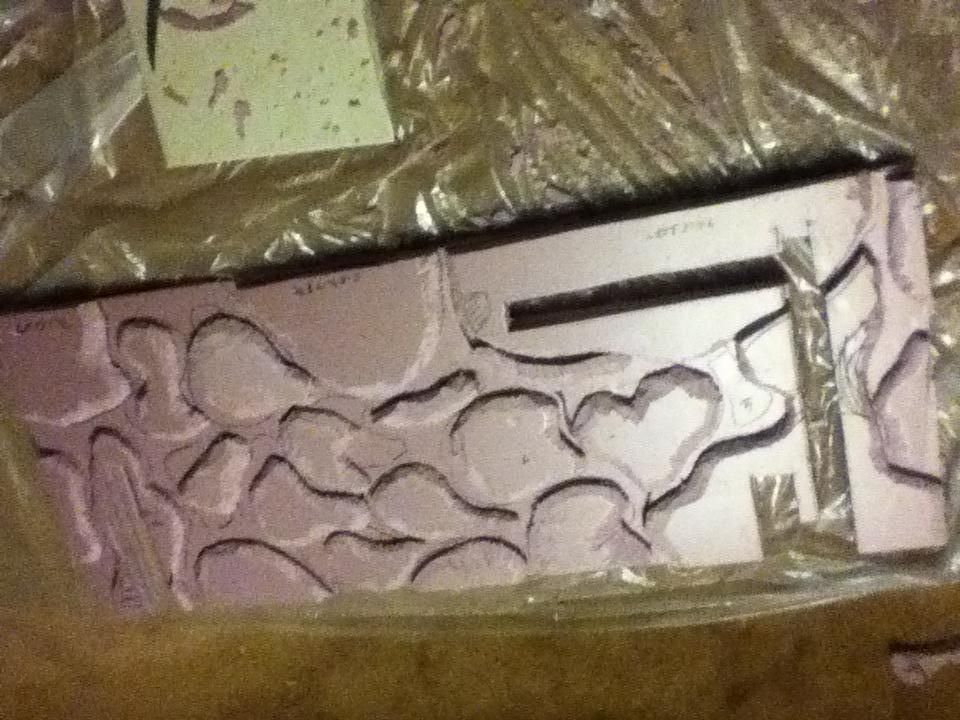
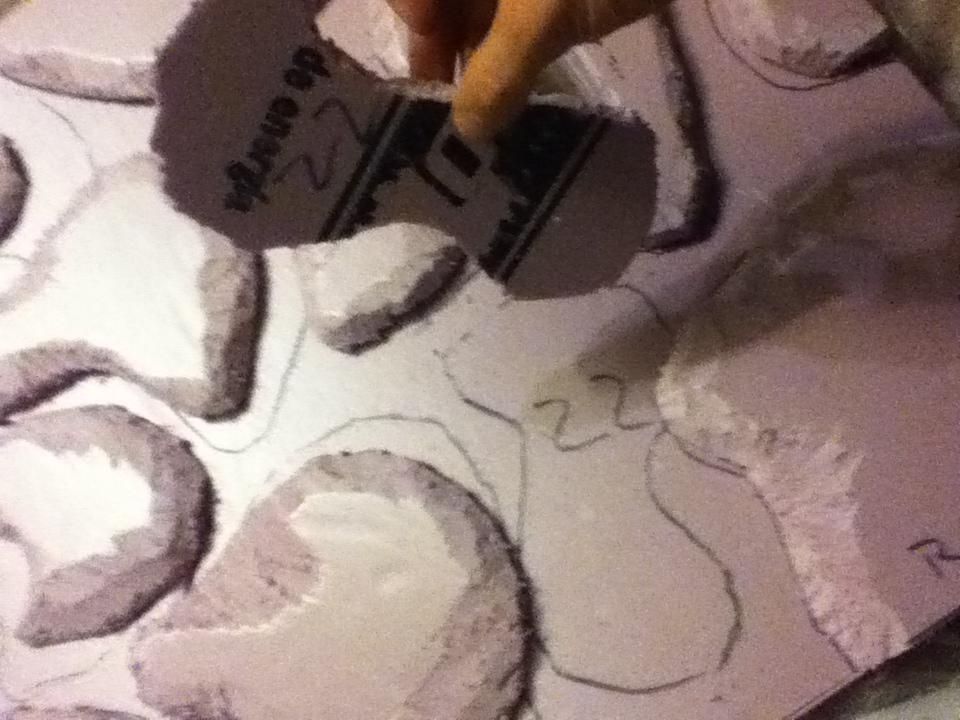
I cut out the rocks and locations for the equipment and shaped the rocks by trimming the edges with a knife and sanding to blend. I marked each rock with a number to keep the spot. I marked each location and rock with a number.
Let's let the glue dry overnight. :)
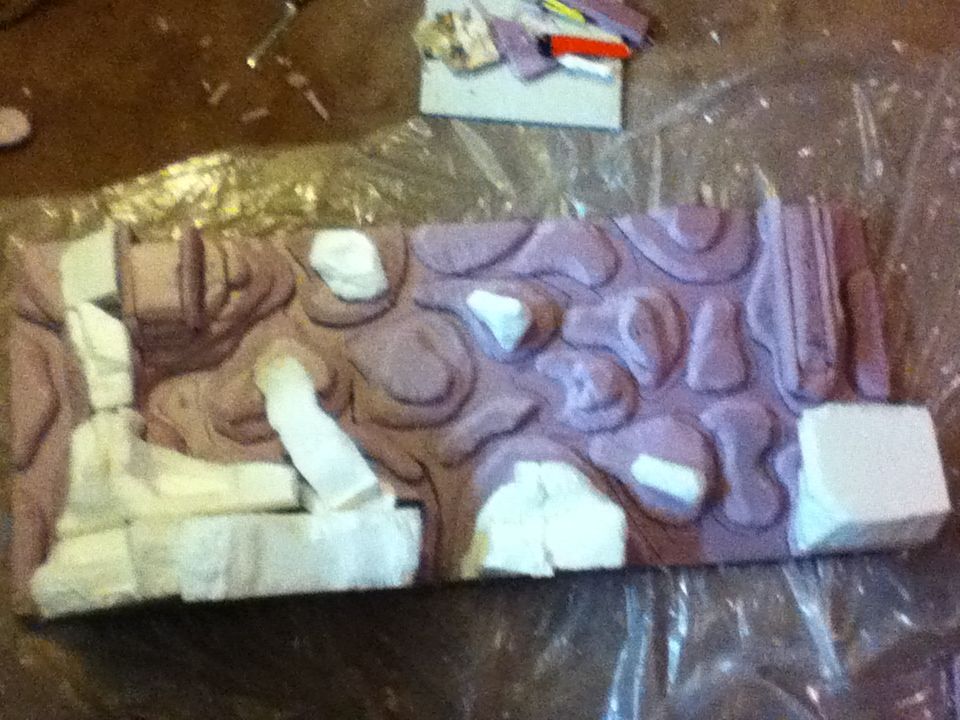
I'm now working on building the aquascape up and completing the equipment chambers. I hope to be concreting this weekend.
 Now we're getting somewhere!
This is after the glue dried
Archway Sidewayish view
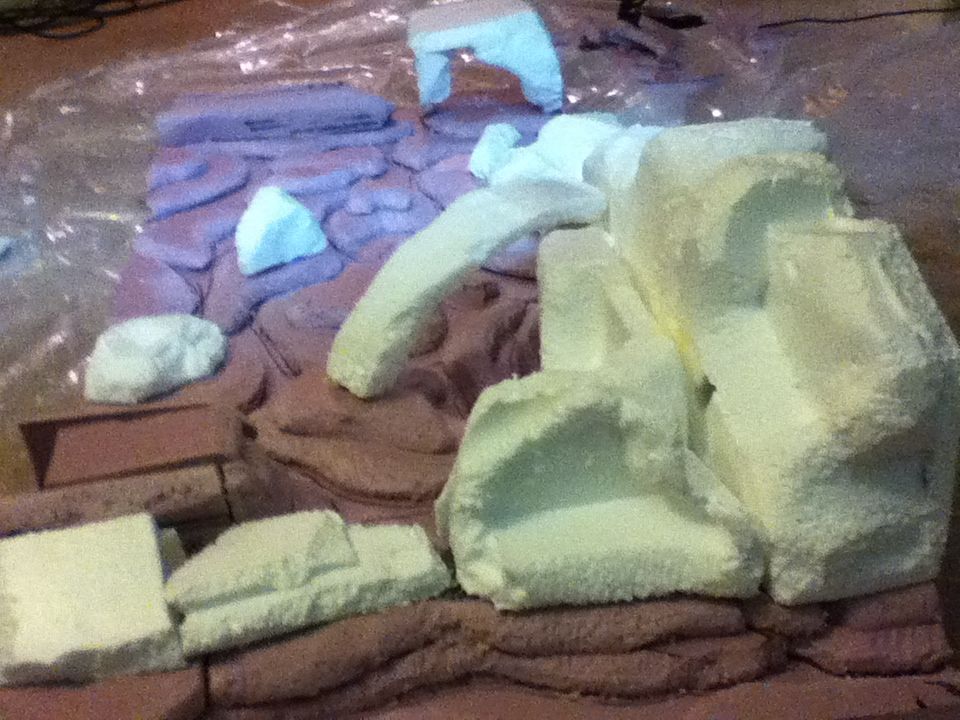
Foam!
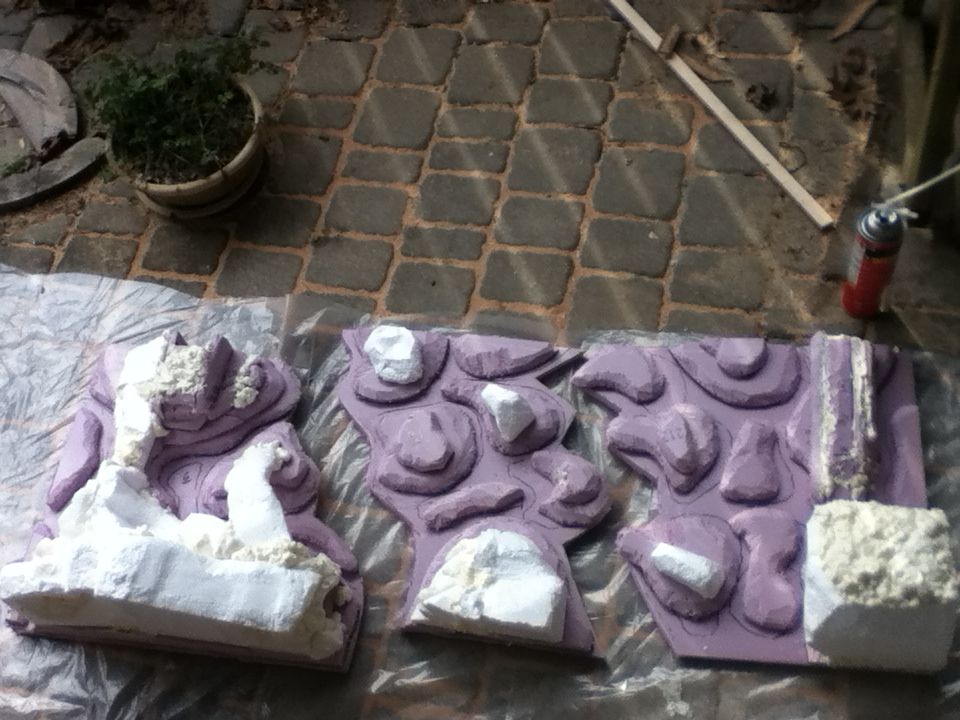
Hopefully I will be ready for concreting in the morning. I've been looking into various sealers but nothing I have been able to confirm as safe. We will see where it pans out from here.
Update for 2014!
I completely forgot about this blog but want to make sure you guys see the final outcome!
I applied a few layers of concrete and sealed with an acrylic sealer. After the concrete cured for a few days I fit the pieces in the tank. It was tricky but I eventually got everything to cooperate.
Here's a full tank shot!

-
Comment by Josh O on January 22, 2013 at 10:25am
-
So how did it all work out ?
Comment
Members
Blog Posts
Posted by Richard on December 29, 2019 at 10:59pm 0 Comments 0 Likes
10 Gallon planted Guppy
Posted by Richard on December 29, 2019 at 10:58pm 0 Comments 0 Likes
Mr. Aqua 12G Long, freshwater.
Posted by Tuh Bahd Phish on March 5, 2019 at 10:12am 2 Comments 1 Like
Forum
Membership
Started by Richard in General Discussion (off topic). Last reply by Patrick Aug 16, 2020. 3 Replies 0 Likes
Using hydrogen peroxide to kill algea.
Started by Zachary Kittle in General Discussion (off topic) Oct 31, 2018. 0 Replies 0 Likes
Help High Nitrates!
Started by Zachary Kittle in General Discussion (off topic) Oct 30, 2018. 0 Replies 0 Likes
Photos
Videos
Birthdays
Birthdays Today
© 2026 Created by Dustin Wunderlich.
Powered by
![]()
You need to be a member of Fishtanktv to add comments!
Join Fishtanktv